Arduino IDE setup
Contents
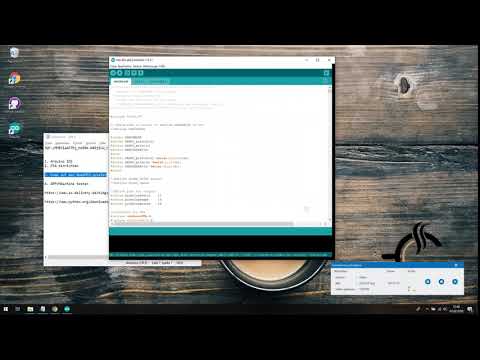
Installation video
In this short video we explain the installation of the Arduino IDE and also show how to install our OpenSource Rancilio-PID on the NodeMCU. Have fun!
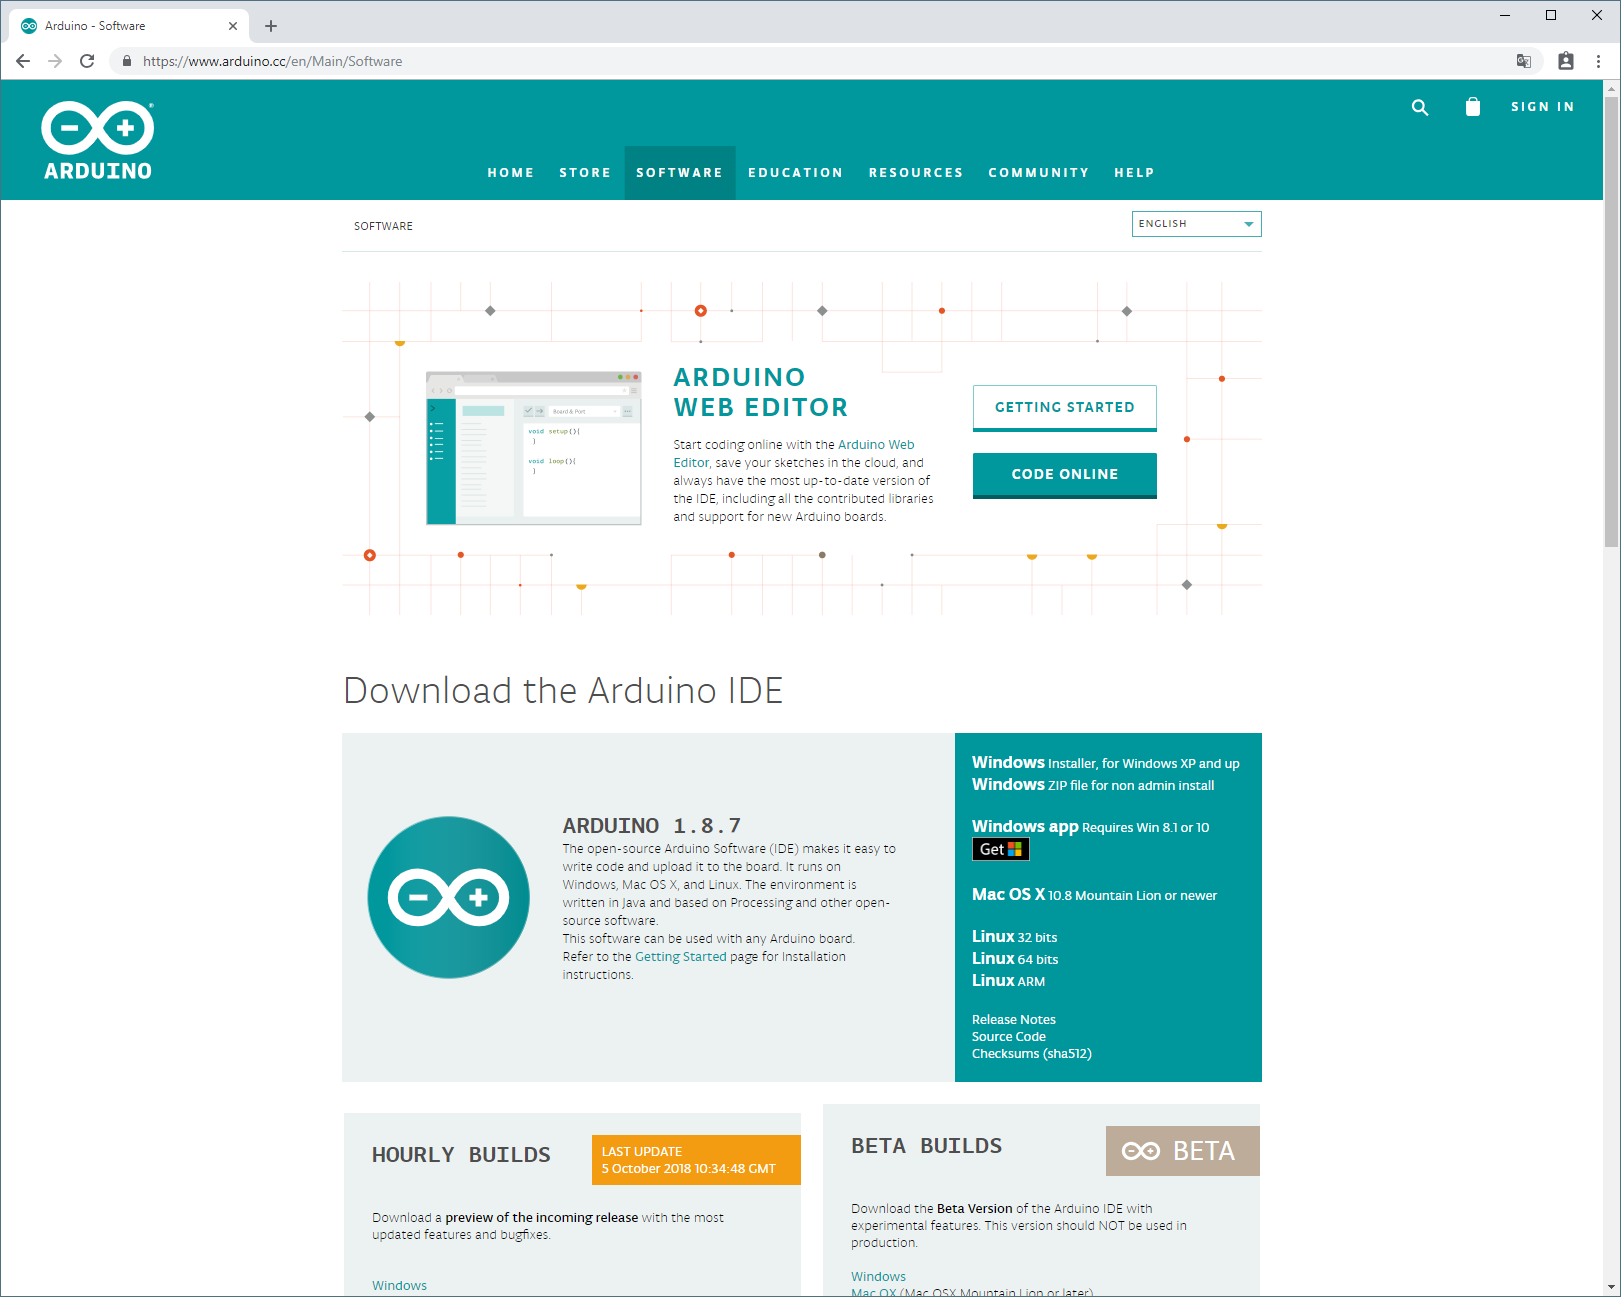
Download
Needed to transfer the program code onto the controller.
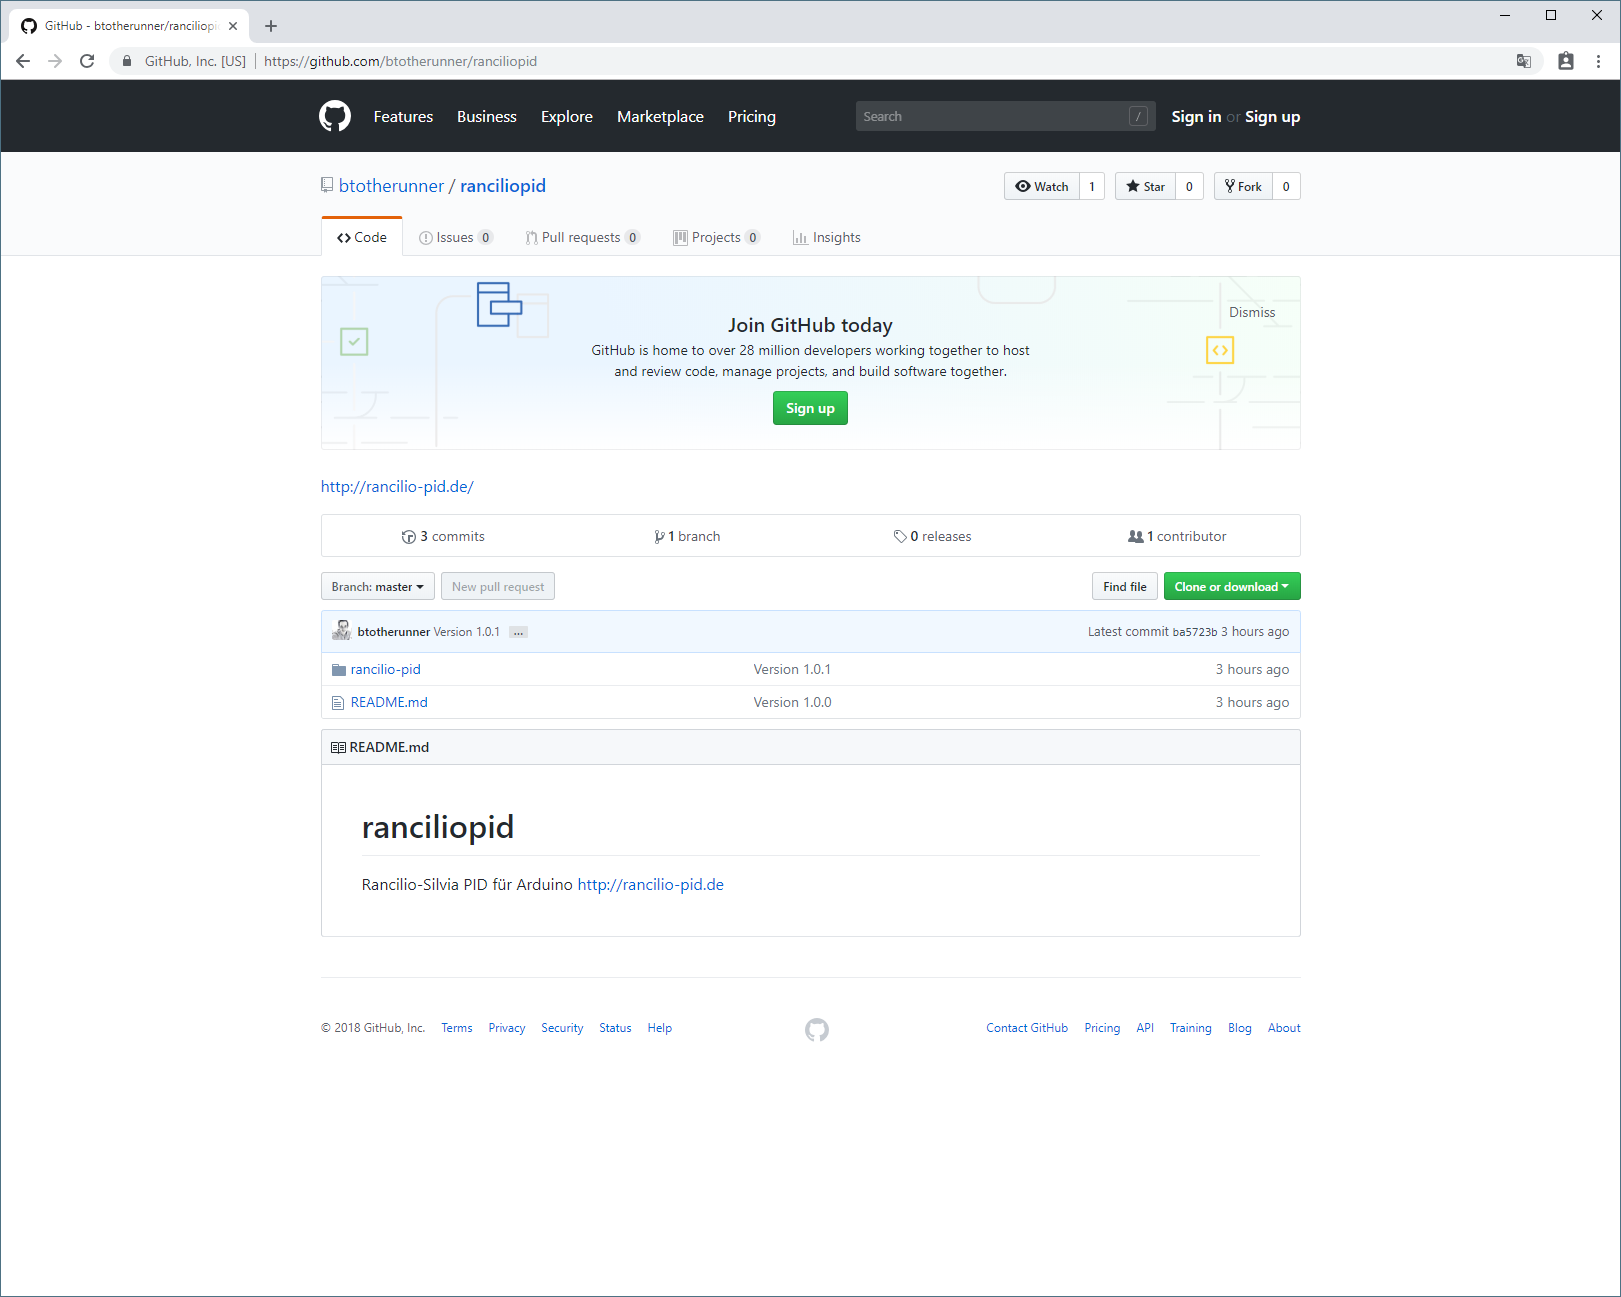
The program code
You can download the program code from the current release.
Installation of Arduino IDE
Help on how to install the Arduino IDE can be found at Arduino Website.
After succesful installation, Arduino IDE can be started from the Start menu
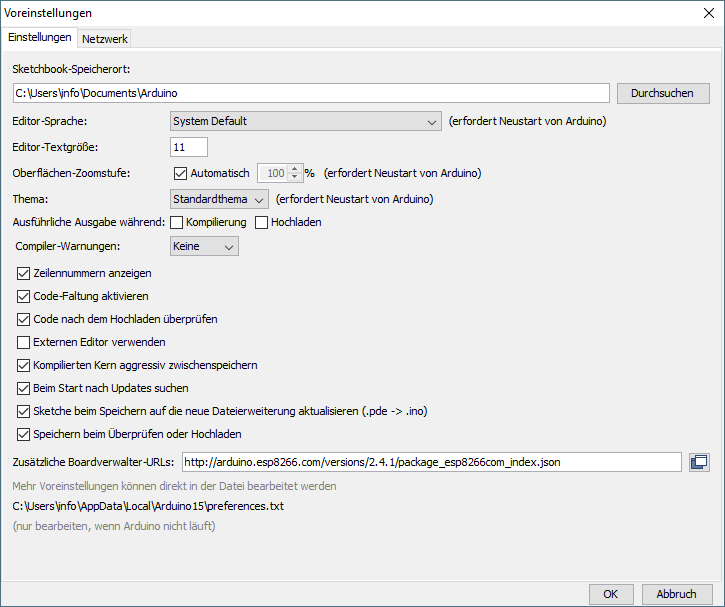
Arduino preferences
Boards Manager URL
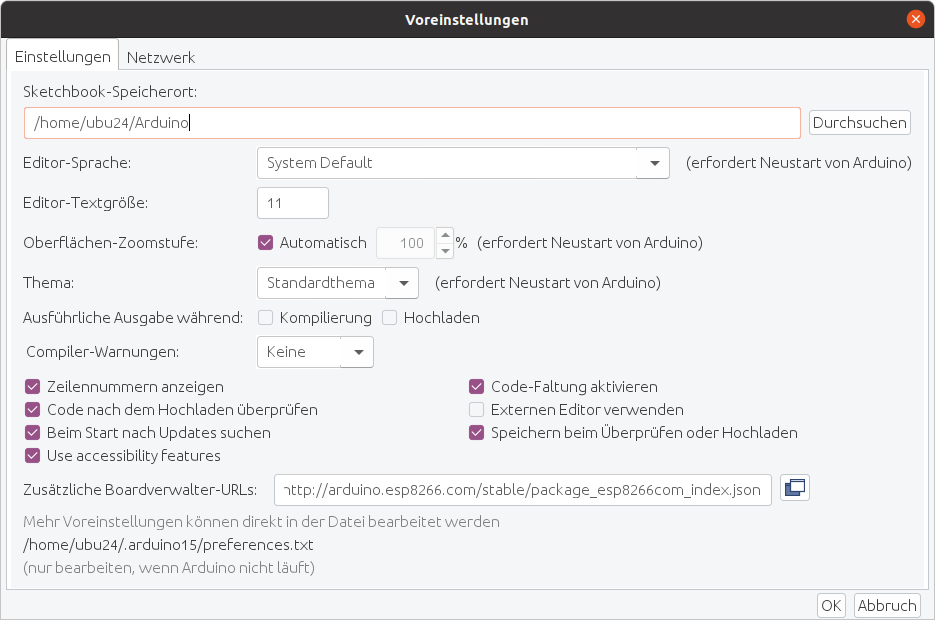
Before we can use NodeMCU in Arduino IDE, we have to set up an additional Boards Manager URL
You can find it under: File > Preferences
| Key | Value |
|---|---|
| Boards Manager URL | http://arduino.esp8266.com/stable/package_esp8266com_index.json |
Windows
Linux (Ubuntu)
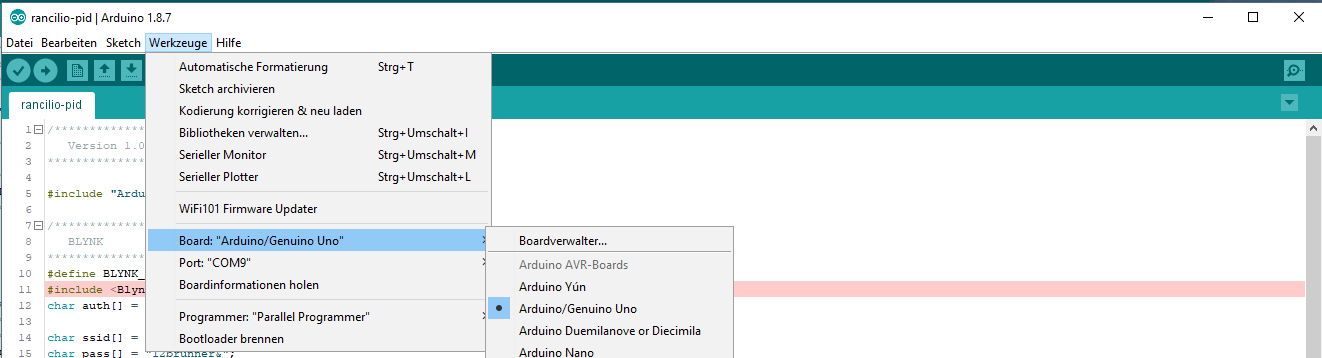
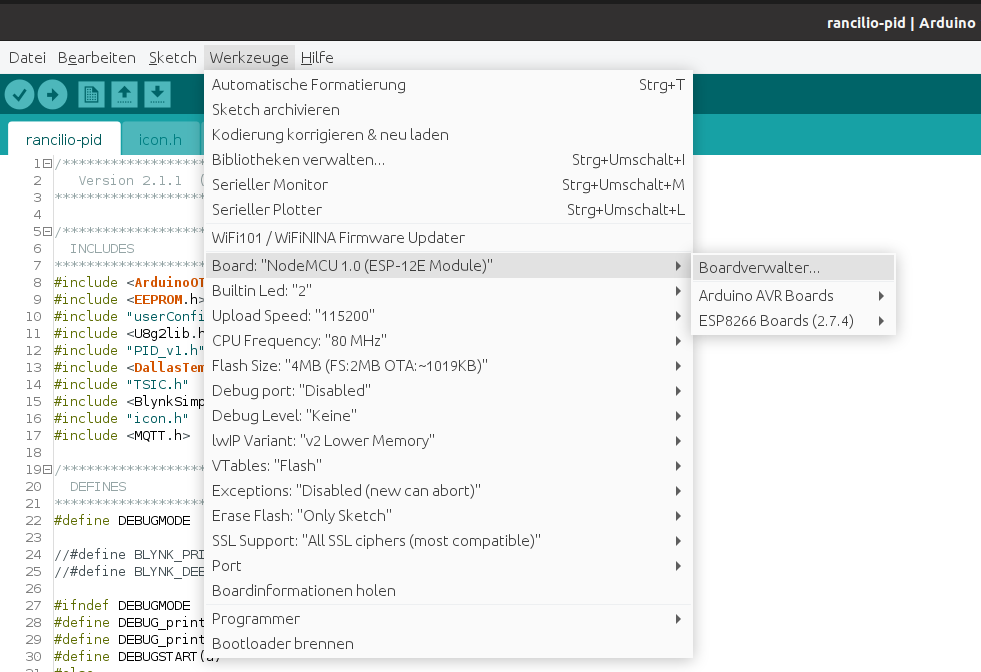
installing board drivers
Drivers for ESP8266 version 2.6.3 have to be installed next.
The ESP8266 board driver has breaking changes in version 3.0, you have to use version 2.6.3!!!
You can find those under Tools > Board: “[<Version>]” > Boards Manager…
Windows
Linux (Ubuntu)
Please install the current version
Typ <All> > “esp”: “esp8266 by ESP8266 Community”
The Arduino IDE setup is done now, we will continue with the libraries
installing libraries
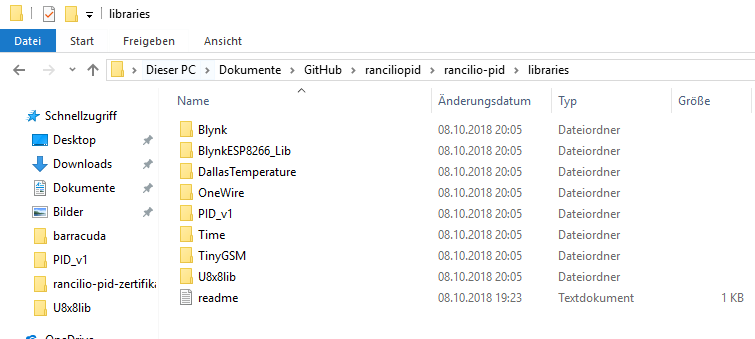
The easiest and safest way to install all libraries correctly is to use the libraries from Github. You should have downloaded them already (see Programmcode). Just copy the whole folder into the Arduino libraries folder
| OS | Arduino Libraries Folder |
|---|---|
| Windows | My Documents\Arduino\libraries\ |
| OSX | ~/Documents/Arduino/libraries/ |
| Linux | ~/Arduino/libraries |
As usual, it is recommended to get more information from the official guide: Link.
Board setup

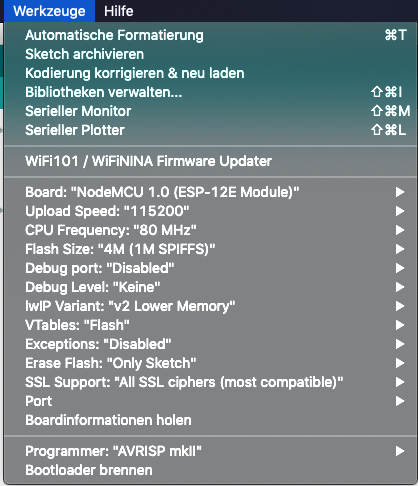
After all libraries have been installed, it should look like this:
Everything is now prepared for setting up Blynk and flashing of the actual code on the NodeMCU.